Why Is My PDF to JPG Image Blurry?
Why is your PDF to JPG image blurry? Learn how DPI, the 4096-pixel limit, and the original scan quality affect sharpness, and which setting to pick.

Try it right in the browser, with no upload.
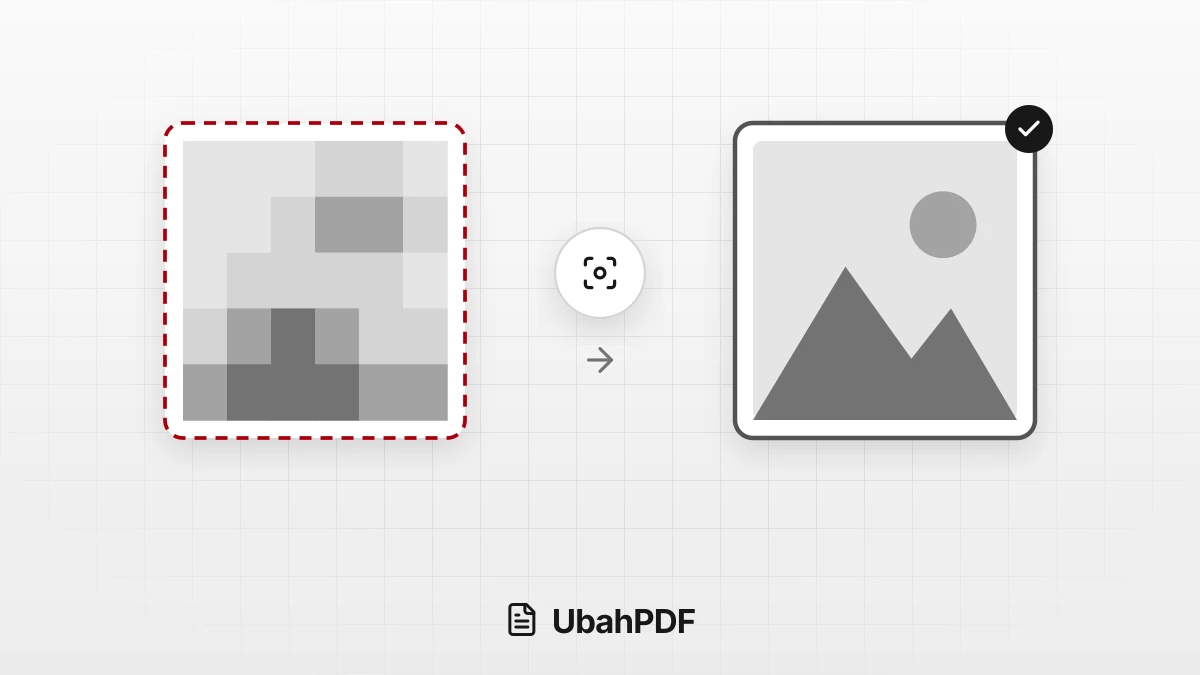
PDF to JPGA PDF to JPG image usually looks blurry because the resolution is too low, the image is enlarged beyond its pixels, or the PDF came from a low-resolution scan.
Choose 300 DPI if the image will be printed or has small text, and use PNG for pages full of text and tables.
If you only need the photos inside the PDF, extract the original images so their resolution does not change.
Contents Show Hide
What Does DPI Mean in PDF to JPG?
Text and lines in a regular PDF are not made of pixels, but a JPG always is.
When a PDF is converted to JPG, each page is drawn again at a set density called DPI (dots per inch). The higher the DPI, the more pixels are used for one page.
In PDF to JPG, the Image resolution setting offers three choices: 75 DPI, 150 DPI, and 300 DPI, with 150 DPI selected at first.
For an A4 page, the results are roughly:
- 75 DPI: about 620 x 877 pixels at 80% JPG quality. Good for light images on the web or in chats.
- 150 DPI: about 1240 x 1754 pixels at 85% JPG quality. Clear enough for most documents on screen.
- 300 DPI: about 2480 x 3508 pixels at 95% JPG quality. Small text stays sharp when printed or zoomed in.
JPG quality follows the resolution you choose, so there is no separate quality setting to adjust.
Why the JPG Looks Blurry
These are the most common causes:
- The resolution is too low. A 75 DPI image looks fine on a small screen, but its text breaks up when zoomed in or printed.
- The image is enlarged beyond its size. An image with limited pixels looks soft when enlarged. That is the limit of its resolution, not damage.
- The page is very large. Each image is capped at 4096 pixels on its longest side, so A3 at 300 DPI drops to about 248 DPI.
- The source PDF is already blurry. A low-resolution scan or photo does not get sharper at a higher DPI, because there is no new detail.
- JPG compression on small text. JPG saves space by discarding some detail, so the edges of small letters and table lines can look speckled.
When a large page's resolution is lowered automatically, you see a note such as "2 pages drop as low as 248 DPI."
Keep in mind that the small images on the page cards are only low-resolution previews for choosing pages.
The real sharpness shows once you download the result.
How to Get a Sharp Image
Pick the step that fits the content and how you will use the image:
- Choose 300 DPI for documents you will print, zoom into, or that contain small text such as grade tables and receipts.
- Use PNG for text-heavy pages. PDF to PNG saves images without lossy compression, although the files are usually larger.
- Extract the original photos if you only need images. Extract Images from PDF saves photos at their original resolution, taking JPEGs as they are.
- Rescan a blurry document. Photograph the paper again with Scan to PDF in good light, or ask the sender for a sharper file.
Sharpness and File Size
300 DPI uses four times as many pixels as 150 DPI, so the files are much bigger too.
For images that will only be viewed on a phone or sent in a chat, 150 DPI is usually enough.
When you convert many pages at once, the result is downloaded as a single ZIP file with one JPG per page.
The archive is limited to 500 MB, so select only the pages you need when converting a long document at 300 DPI.
Type a range such as 1-3, 5, or tap the cards of pages you don't need to deselect them, since every page starts selected.
Finally, many chat apps shrink images sent as photos.
If the recipient says the image is blurry while the file on your phone is sharp, send the JPG as a document or file so it is not compressed again.
Try it right in the browser, with no upload.
PDF to JPG